Soda PDF Blog
Expert tips & tricks to help you
manage your digital documents.


Featured Post
-

Introducing Translate PDF: Your new language superpower
With so many connections happening globally, being able to speak the same language as your audience, clients, or collaborators can truly make a difference. But what happens when language barriers stand in the way of sharing important documents? Whether you’re…
Share this post
Most Recent
How-To Tutorials
-
Create a printable calendar for PDF
Staying organized can significantly boost your productivity, and one of the most effective ways to manage your time is through…
-

How to add page numbers to a PDF file
Want to add page numbers to your PDF? It’s a great way to keep your document organized, especially when sharing…
-
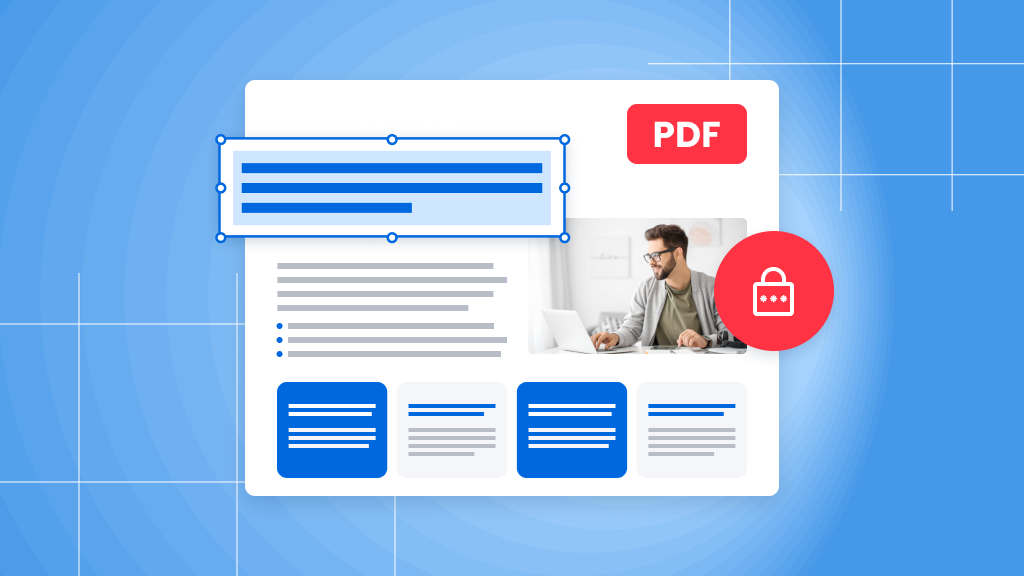
How to format PDF text for the perfect document
Formatting text in a PDF can sometimes feel like a puzzle, especially with PDFs being so visual and detail-oriented. At…
-
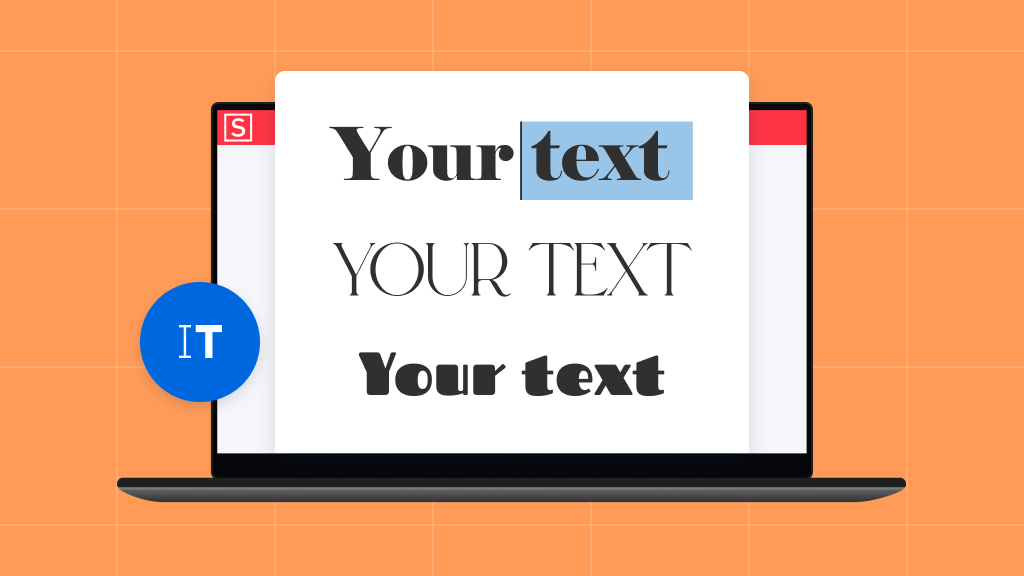
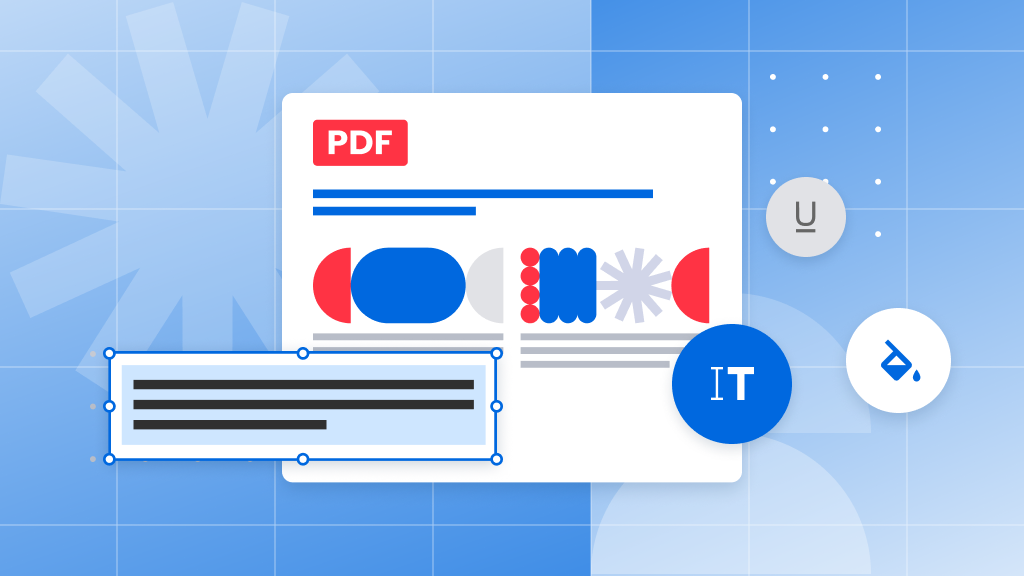
How to use custom fonts in Soda PDF
Looking to add a unique touch to your documents with custom fonts in Soda PDF? Whether you’re sprucing up a…
-
How to create bookmarks in PDF documents
PDFs have become one of the most popular ways to share information, especially as we shift to paperless solutions. In…
-
How to highlight text in a PDF file
PDFs have become a trusted way to share information, thanks to their reliability. But when working with text-heavy PDFs, it…
Create, edit and e-sign PDFs easily with Soda PDF PRO
Create PDFs from scratch or modify existing ones with ease. Add text, draw, stamp, whiteout or sign documents electronically. Our user friendly interface makes it simple and straightforward.