How to Highlight Text in a PDF File

The PDF format has staked its claim as a reliable and trustworthy avenue for information sharing. But, one of the major pitfalls of collaborating with text-heavy PDFs is quickly identifying the important parts. Because of that, it’s important to be know how to highlight text in your PDFs.
Because of how many files get shared on any given project, annotations provide a fantastic way to draw attention to specific items.
Lucky for you, a program like Soda PDF provides you with an easy-to-use tool to highlight text. Something you should keep in mind is that a good application will let you highlight text, but a great one will also let you add comments to those highlights.
So let’s cover how you can do this yourself.
Table of Contents
Part 1: Highlighting text in PDFs
Highlighting text will add an annotation element to the document. So, if you highlight only certain words or phrases within a paragraph, each highlighted area will count as a separate entity.
For that reason, we recommend highlighting all related content in a paragraph at once.
1 – Select the Highlight tool
First, you need to know how to access & where to find the Highlight tool.
- Click on the COMMENT feature tab.
- Select Highlight from the row that appears underneath COMMENT.

Once you’ve clicked on Highlight, the following toolbar will appear underneath the row of COMMENT tools:

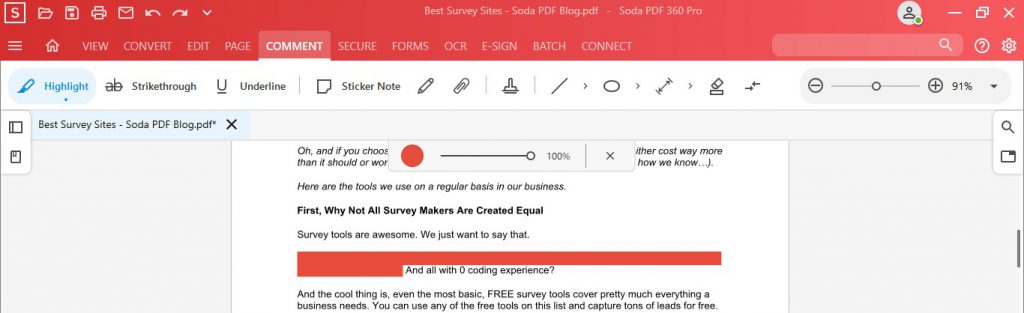
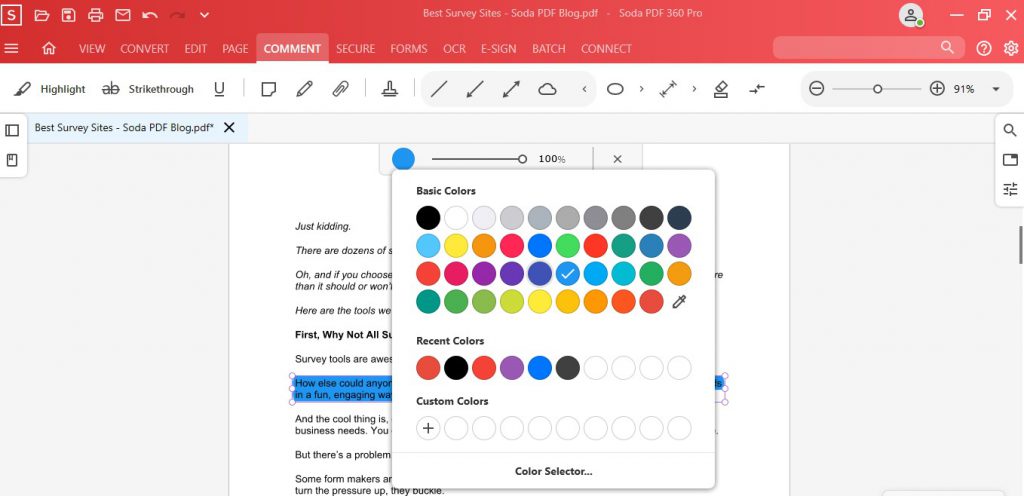
2- Choose your Highlight color
- Click on the color circle in the toolbar to select your highlighter color.
- You can also create a custom color.

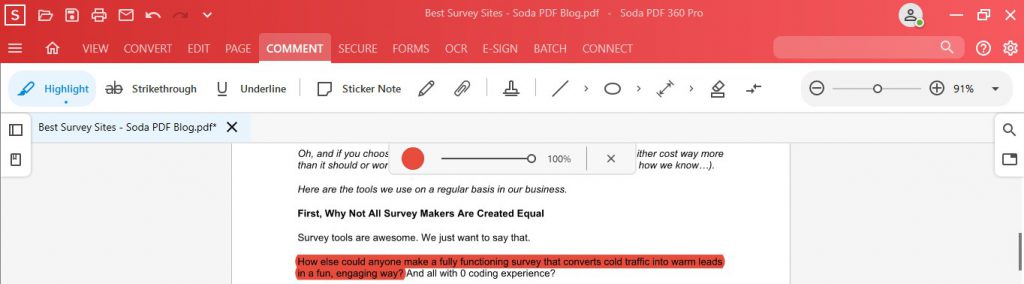
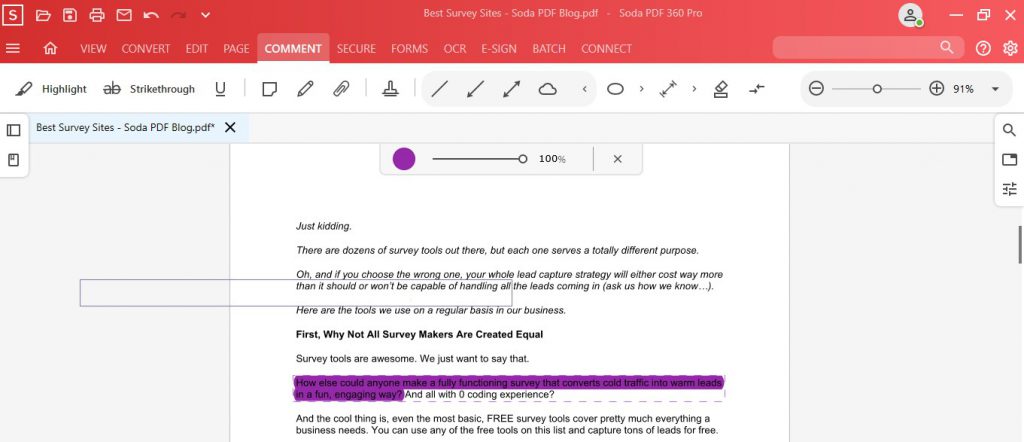
3- Selecting your text.
Once the Highlight toolbar appears, you can start highlighting text.
- Hold down your cursor and drag it over the desired text:
4- Finalize
- Release your mouse button and the text you’ve selected will be highlighted:
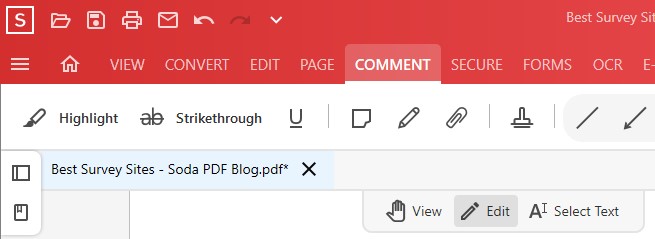
Part 2: Editing existing highlights
1 – Changing color using Edit Mode
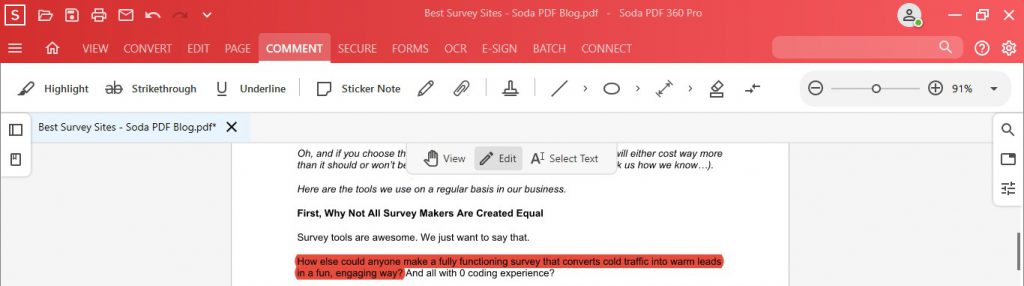
To change the color of your highlighted text, simply click on Edit from the Modes toolbar (VIEW / EDIT / SELECT TEXT) that appears once you’ve clicked out of the Highlight tool:
Once you’ve clicked on Edit Mode, you can then select the highlight you wish to adjust:
Next, click on your highlighted text to have the familiar Highlight toolbar appear. You can then change the color of the highlighter by clicking on the color circle:
The color of your highlighted text will automatically change once you’ve clicked on the color you’d like to use.
2 – Changing color & other elements through Properties
While in Edit Mode, you can select the highlight element and open the properties menu. It’s important to note that the highlight element is a layer added on top of the text. Selecting the text will not select the highlight.
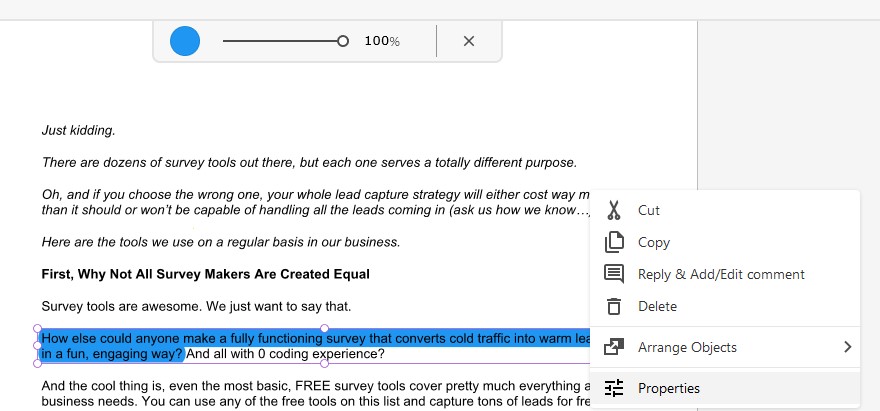
- Select the Edit Mode.
- Click on your highlight. A purple outline will appear.
- Right-click to bring up the following options, then click Properties:
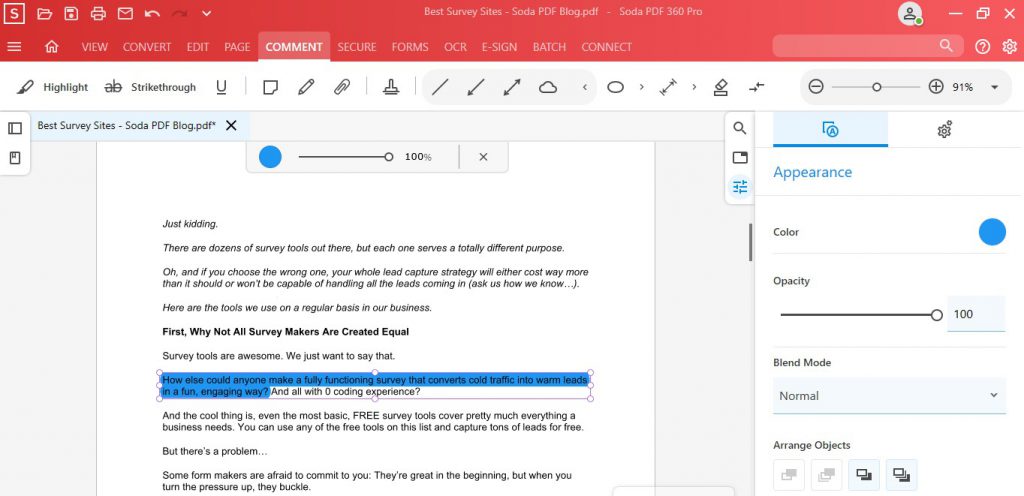
Once you’ve clicked on Properties, the Properties field will appear on the right-side of the application:
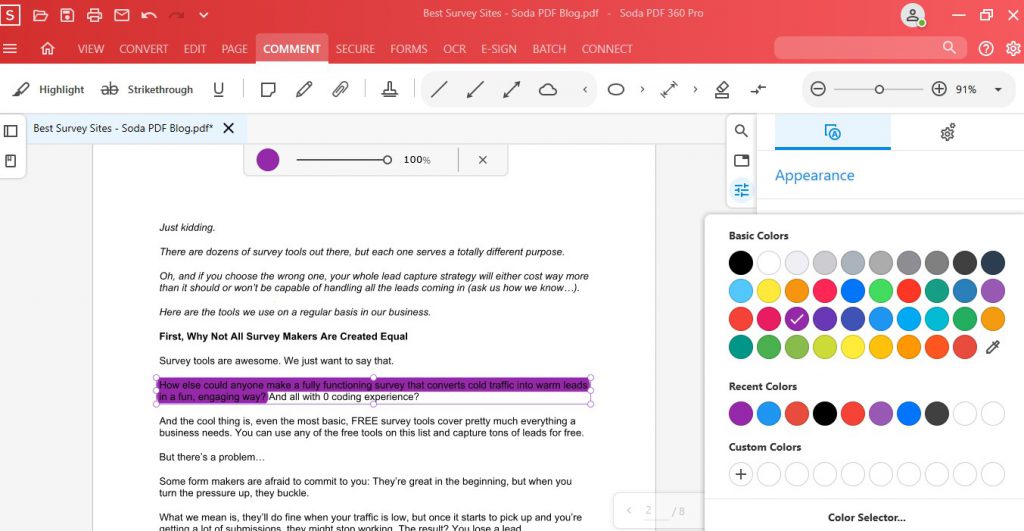
Click on the color circle in the Properties tab to select a new color for your highlight:
Here is a definition of each property setting:
Appearance tab
This is the primary tab that will be opened once you click on Properties:
- Color – Clicking here will open the color selector allowing you to change it.
- Opacity – Adjusting this will change the opacity of your highlight.
- Blend Mode – Adjust how your highlight should look. Do you want the highlight to be Normal? Or do you wish to thicken the color highlight with Multiply? There are a few more options for you to consider as well, such as Darken, Overlay, Lighten & more!
- Arrange Objects – Want to bring the highlight to the back of the text, or perhaps blend the highlight into the background of your PDF? Select which option you prefer here.
General tab
Click on the gears icon next to the Appearance tab under Properties to view:
- Type – The type of element you’ve selected to view in Properties. Example: Highlight.
- Author – This will be the name associated with the highlight when other users view the PDF.
- Subject – This section is for any comments. We’ll cover this in Part 3.
You can also see the Date Modified here, allowing you to keep track of when your document was last highlighted.
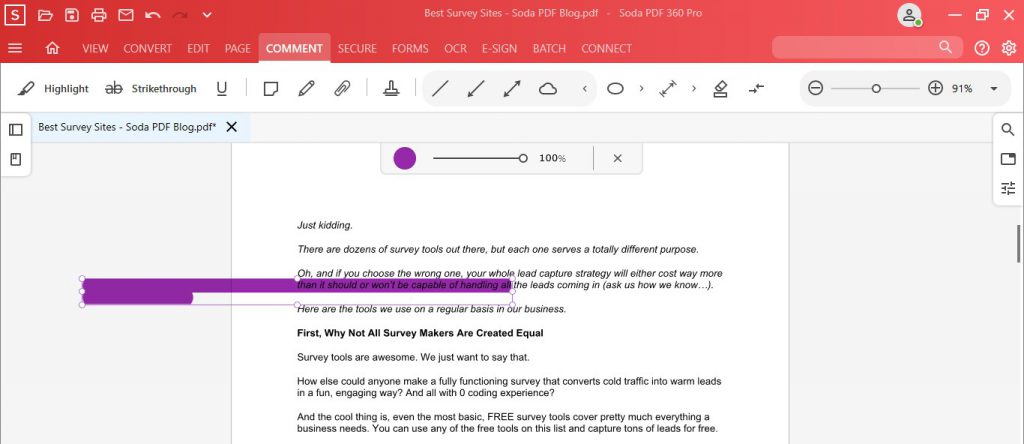
2- Moving the highlight
You may notice that if the text moves in your document, you will then need to move the highlight element along with it.
To move the highlight, simply click on the element to select it. A purple outlined box will appear. Simply drag-and-drop where you’d like your highlight to be moved. The purple outlined box will move wherever your mouse does:
You can easily move any piece of your PDF around with the following steps. The snap tool in our grid feature will help you align them perfectly.
- Click on Edit Mode.
- Select your highlight.
- Drag your mouse cursor until the highlight is in the correct place.
- Finally, release the mouse button.
The purple outline reflects where the highlight will end up.
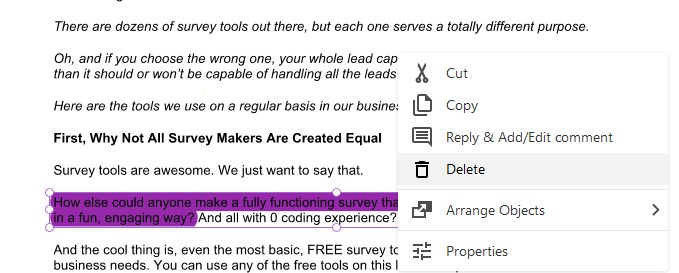
3- Deleting highlights from text
The best part about text markups is they are a layer on top of your document. Deleting them won’t change the content.
- Click on Edit Mode.
- Right-click on the highlight.
- Then choose “Delete.”
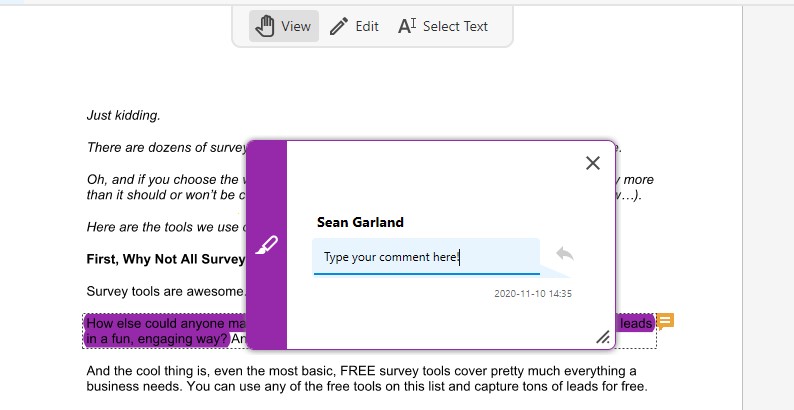
4 – Adding comments to your highlight
Lastly, You can also add comments to your highlights. These can be viewed by anyone who receives this PDF and adds power to the collaborative side of annotations. Firstly, you’ll need to open the comment section.
- Click on View Mode.
- Click on the highlight.
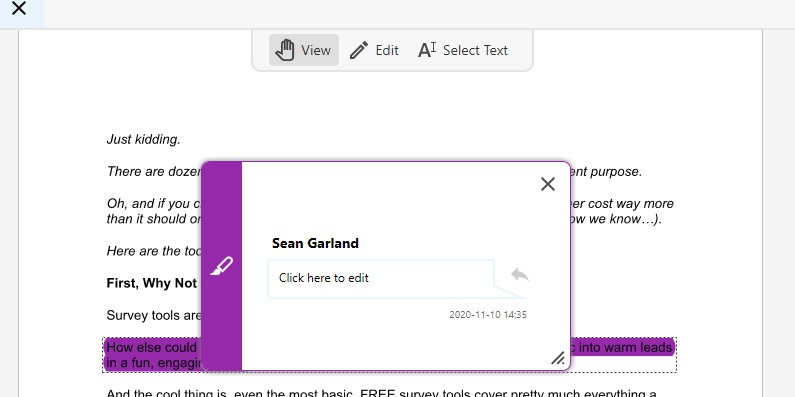
3. Type text into the comment box that appears.
4. Finally, click on the X in the top left corner to finish.
If you want more information on how to use Soda PDF’s features, then feel free to check out the knowledge base.
So, if you want to try this out for yourself, then download Soda PDF Desktop, or try our Online software solution directly from your web browser. Enjoy!
