Seeing how to edit text in PDF documents will unlock the full potential of this versatile format. Traditionally PDFs are used to share information, with each page containing plenty of content. Every now and again those pages have text that needs correcting.
Before PDF editors were mainstream, the only way to edit text would be to convert the file and make the changes in Microsoft Word. After your changes, the DOC would be converted back to PDF. Now you can just make any changes quickly in your PDF.
Using a PDF text editor like Soda PDF you can easily learn how to edit text in PDF documents. While many applications will let you work with your PDFs, Soda PDF’s infrastructure will let you make text changes no matter where you are.
How Text Works in PDFs
Each page of your PDF is an open template. Similar to Microsoft PowerPoint, your PDF will be made up of different elements on each page. These elements include images, form fields, and text boxes.
When a Text Box is added to a page you’ll be able to type into that box like you were using Microsoft Word. Any text you see is found in multiple text boxes that can be placed anywhere on the page.
All text boxes will have a blue border. They are the only element type with a blue border.
You can resize this text box or move it around your document.
- Move the mouse cursor to one of the circles on the border, hold down the mouse button, and drag your cursor to resize (or rotate) the text box.
- Place the cursor anywhere else on the border to move the text box.
Scanned Documents
You may come across files that were created directly from a scanner. In this case, while you see text, each page is made up of an image. You’ll know a page was scanned when you see a red border surrounding the entire page. Red-bordered elements are always images.
Below is an example of a scanned PDF page:
In order to edit this document’s text, you will need to use OCR (Optical Character Recognition). OCR will scan the image, unlocking any text it can find for editing. Click here to learn more about using OCR.
Adding Text
If you want to be able to type on your PDF page, you’ll need to first create a new text box. There are 3 ways to go about this.
- Click into Edit Mode.
- Then double-click on an empty part of your document.
Or
- Open the Edit Tab.
- Pick Add Text.
- Click into your document.
Or
- Click into Edit Mode.
- Right-click anywhere on the document and choose the Add Text option in the context menu.
You’ll see a new empty text box on the page. You can start typing and text will appear in the box.
Editing Text
Changing Existing Text
When you receive a PDF that already has text, you can easily make any changes to it. Since any text is inside a text box, you’ll need to first access the text box.
- Switch into Edit Mode.
- Click on any text in your document.
You’ll see the outline for the text box appear along with the familiar flashing line signaling where in the paragraph your edits will appear. You can now make any text changes.
Deleting Text
While the text box is open you can easily delete any text.
- Hold down the left mouse button and drag your cursor to select text.
- Use the Backspace or Delete key to remove the text.
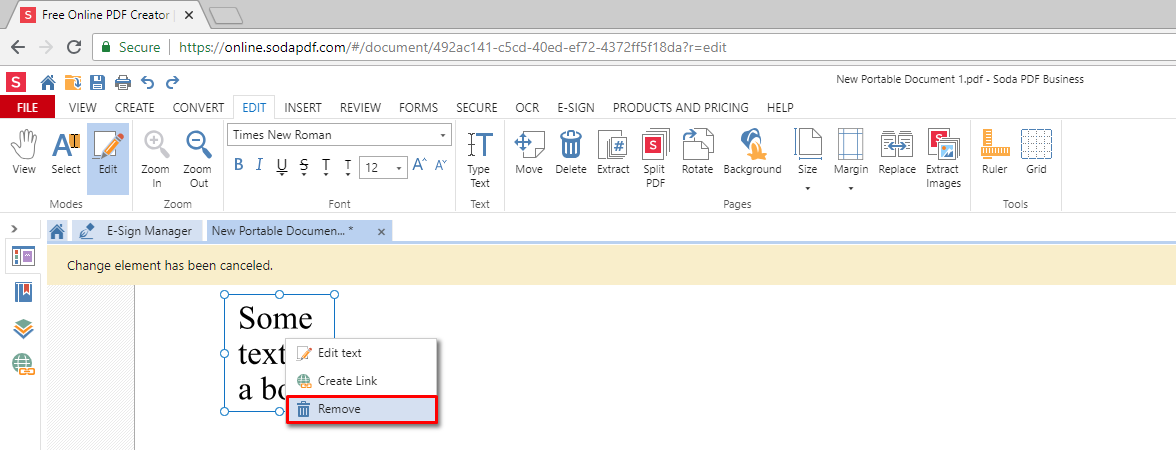
You are also able to delete an entire text box, including all text in that section.
- Right-click on the blue border of the text box.
- Choose Delete.
Changing Text Font
You can change the font of your text with a few clicks.
- Select the text that needs a new font.
- Press and hold the CTRL key and then press the A key to select all the text in a text box at once.
- Click on the Font Dropdown.
- Choose the Font you’d like to use.
The text will update with your new font.
Soda PDF Desktop will let you use any font installed on your Windows machine. These are known as System Fonts. You can always use these fonts from this machine. However, another system may not have access to the same custom fonts you do.
There are also Document Fonts, these are the fonts that were embedded into your PDF when the file was created, but they are not on your system.
When you come across a font not installed on your system, Soda PDF will do its best to pick a font from your system that looks closest to the Embed Font.
You’ll see the message below when this happens. You’ll be able to make your text changes, but there may be a visible difference in the font of the text you are adding.
If you need to use that particular font, you’ll need to get it installed on your system. Once you have done so, restart Soda PDF and the font will be available.
Text Formatting
In Soda PDF there are two categories of text formatting tools available. In this section, we’ll focus on the features that actually change your text. In the next section, we’ll look at features that play an annotation role.
Bold/Italics
You will be able to bold or italicize any standard font used in Soda PDF. Certain custom fonts are created in a way where you need to choose the bold or italicized version of that font. When you select your text you’ll know immediately if bold and italics are available.
If the buttons are still clickable, you can apply bold or italics (some fonts may let you do one and not the other). When the features are grayed out, look for a version a bold or italicized version of your font in your font list.
- Select the text you want to Bold or Italicize.
- Choose the B to bold.
- Choose the I to italicize.
Font Size
- Select the text you want to modify.
- Click the font size dropdown and choose a new size.
Font Color
- Select the text that needs a new color.
- Click the color selector.
- Choose your new color.
- Click here for more information about picking a custom color.
Superscript/Subscript
A superscript or subscript is an indicator, symbol, or number that is written just above a regular line of type (superscript) or below it (subscript).
- Select that text that should be set to subscript or superscript.
- Click on the More Adjustments icon.
- Choose the left option for Superscript.
- The right option will set the text as Subscript.
Also, you can use keyboard shortcuts to make some text appear above or below your normal text: for Superscript – Ctrl + Shift + +; for Subscript – Ctrl + Shift + –.
Horizontal Scaling
This option will let you select the text, and proportionately increase or decrease its size while respecting other formatting.
- Select the text you want to scale.
- Click on the More Adjustments icon.
- Choose an option from the dropdown.
- You can also type a number directly into the box.
Character Spacing
This will let you modify the distance between characters in your document. When set to 0, it will use standard spacing. Positive numbers will increase the spacing and going below zero will decrease the spacing.
- Select the text that needs new character spacing.
- Click on the More Adjustments icon.
- Choose an option from the dropdown.
- You can also type a number directly into the box.
Text Annotations (Underline, Highlight & Strikethrough)
We separated these typical text formatting options because in the PDF universe features like highlighting text behave differently than in a standard text editor like Microsoft Word.
These features are actually annotations that are placed on top of the text. This means the text doesn’t actually change as you underline it, instead, an underline element is added to your document.
Underline, Highlight and Strikethrough all behave the same.
- Select the text that needs to be annotated.
- Choose the feature you want to use.
- Select the color you want to use.
Managing Text Boxes
A PDF page is an open template. You can place your text boxes anywhere on that page. You can resize them so they are the perfect fit.
- Click on your text box to select it.
- Place the mouse cursor over any of the circles on the border, then press the mouse button and drag your mouse to change the text box size.
- Place your mouse cursor anywhere else on the border, then press the mouse button and drag the mouse to move your text box around the document.
Soda PDF allows you to combine text parts of different text blocks.
- Using the mouse, select the text to be merged.
- Right-click the selection and choose the Merge Text Blocks command in the context menu.
Paragraph Formatting Options
Any paragraph formatting options will only be applied to the text box you are working on.
Paragraph Alignment
You can align the text inside a text box. You can align text to the left, right, and center. You can also pace out your text with the justification option.
- Select the text you want to align.
- Choose the alignment option.
- You can also use the following keyboard shortcuts:
- To center the selected text use the keyboard shortcut Ctrl+E.
- To make the selected text aligned to the right margin use the keyboard shortcut Ctrl+R.
- To make your selected text aligned to both right and left so that justify it use the keyboard shortcut Ctrl+J.
You can also access the Paragraph Alignment from the Appearance tab located in the right-side Properties panel.
- Select the paragraph you want to modify.
- The Tool Area will open, click on the More Adjustments icon to open the Appearance tab.
Line Spacing
The Line Spacing tool will control the distance above and below lines of text.
- Select the text that should be impacted.
- Click on the More Adjustments icon.
- Open the Paragraph section.
- Click the dropdown and choose an option (or enter a number manually).
First Line Indent
The first line indent option will replicate the experience of starting a new paragraph, where the first word has a space before it. This feature makes it much easier for users to identify when paragraphs start. You will need to select all paragraphs in a text block to make this change.
- Select each paragraph that needs a first-line indent.
- Click on the More Adjustments icon.
- Type a number into the box.
Space Between Paragraphs
Similar to line spacing, the space between paragraphs feature will let you control the space between the paragraphs in a text box.
- Select all the paragraphs in your text box.
- Click on the More Adjustments icon.
- Type a number into the box.
Bullet Points/Numbered Lists
Soda PDF will let you create bullet points or numbered lists. To prepare your list, you’ll need to separate each item into its own paragraph. Make sure to hit the Enter key at the end of each entry to your list to start a new paragraph.
You can use the Space Between Paragraphs setting to manage the distance between your bullet point list.
- Select each line of text for your list.
- Click on the More Adjustments icon.
- Choose the dropdown for bullet points and pick one from the list.
- Otherwise, choose the numbered list option and pick the appropriate formatting.
- Click the Make Default button to use the selected settings moving forward.
Format Painter
Using the format painter you can copy any of the text formatting settings (the features in that section) and apply them to text in another box.
- Click on the text box which formatting you want to copy.
- Choose Format Painter.
- Select the text that should receive the new formatting.
- When you release the mouse button the formatting will be updated.
To apply the changes you can use the hotkeys: Ctrl+Shift+C (copy the formatting), Ctrl+Shift+V (apply the formatting).
Text Editing in Soda PDF Online
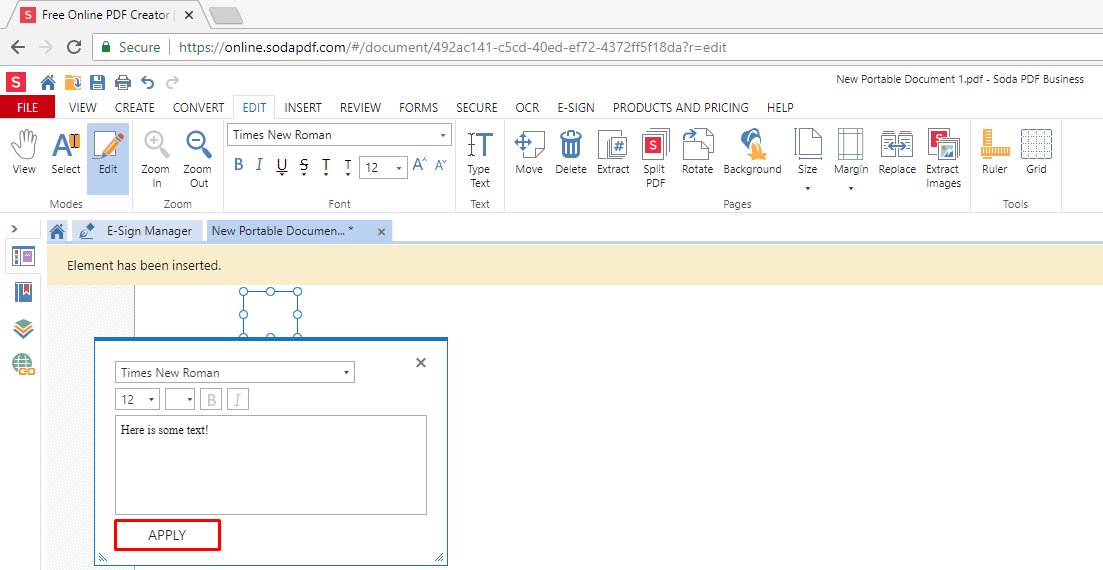
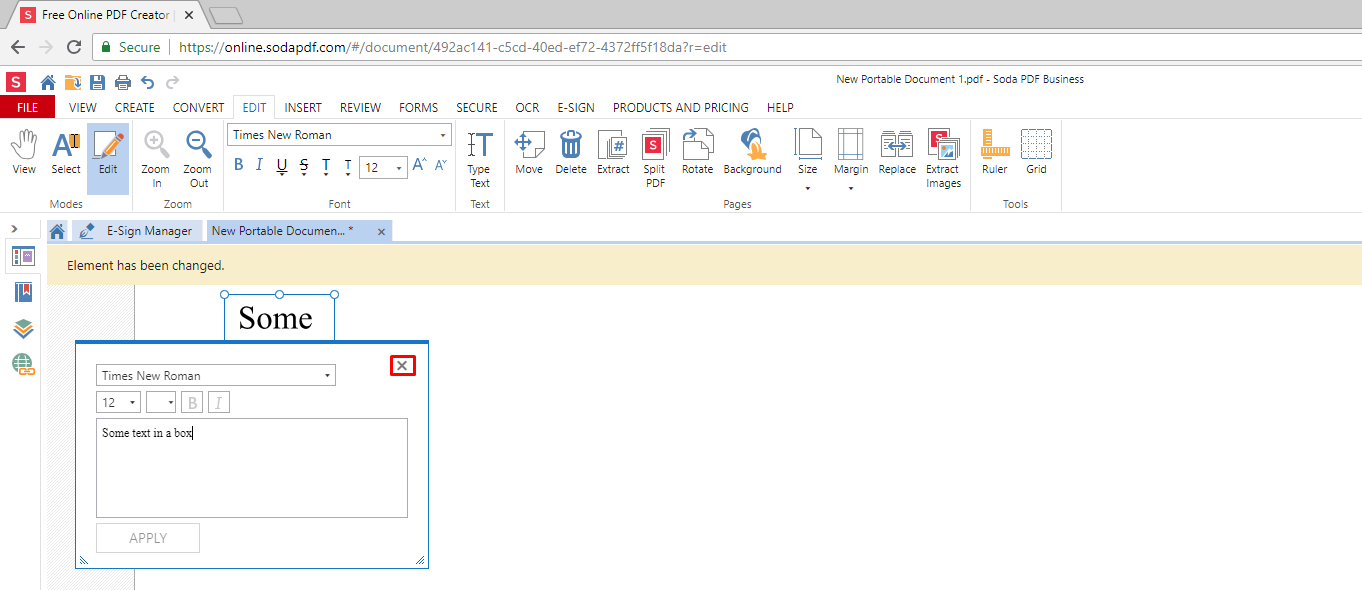
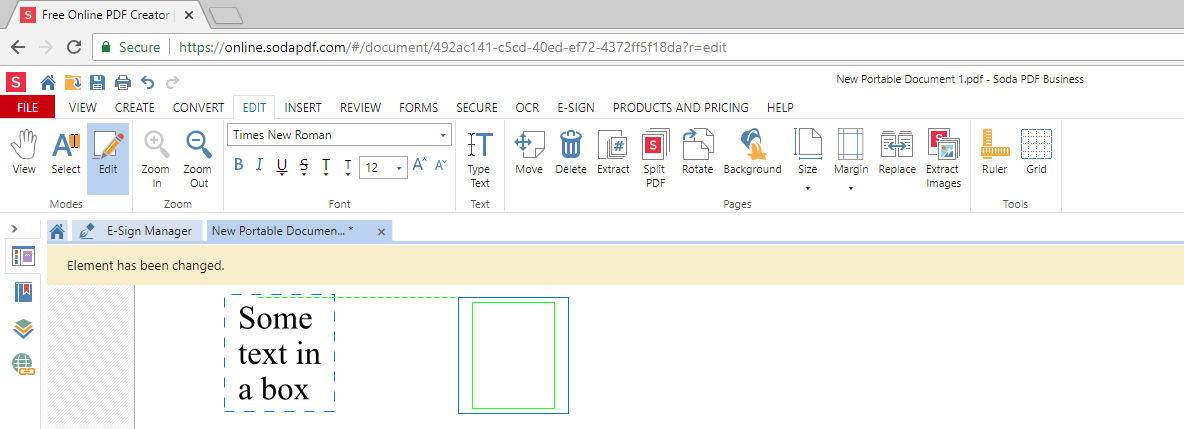
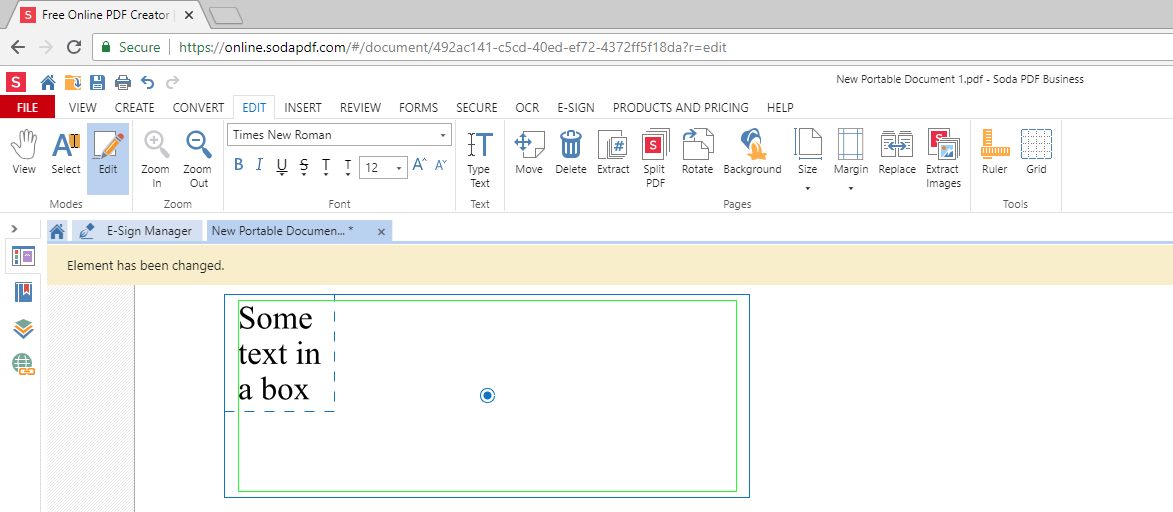
Soda PDF, a PDF editor Online allows you to type and edit the text in your PDF Document. The flow of adding and editing PDF text is virtually the same.
You may not see all the same formatting options. We are working to bridge the gap between formatting available in Soda PDF Desktop and Online.