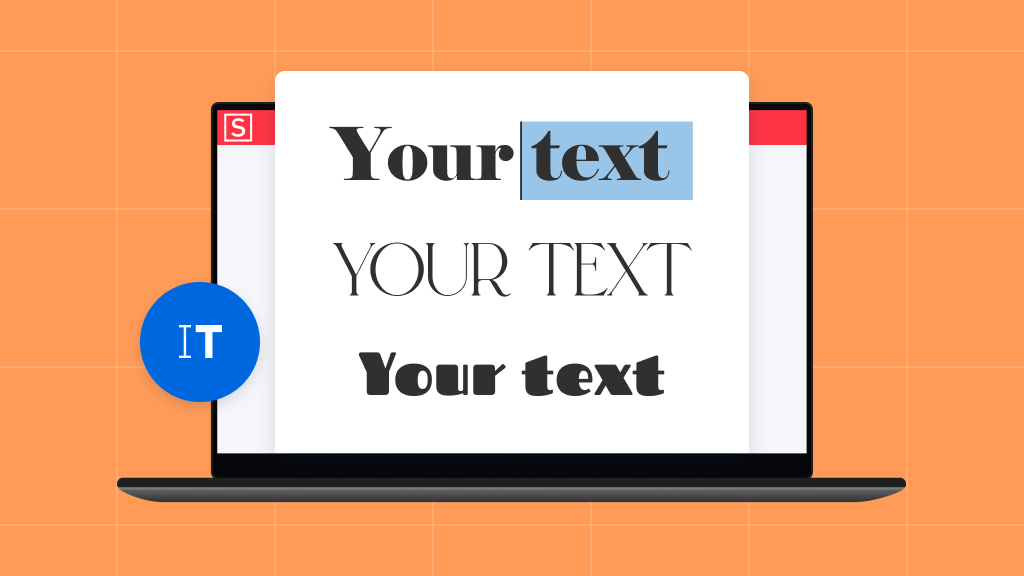
Looking to add a unique touch to your documents with custom fonts in Soda PDF? Whether you’re sprucing up a special project or need a specific font for editing, you’re in the right place. Custom fonts can transform the look and feel of your documents, making them stand out and reflect your personal style. Let’s dive into how you can effortlessly use custom fonts in Soda PDF!
Fonts have the power to completely alter the appearance of a document. Classic fonts like Times New Roman exude professionalism, while playful or handwritten styles bring a personal touch. While many devices come with a range of pre-installed fonts, sometimes you need something unique to achieve your desired effect. Learning to use custom fonts in PDF will help you tailor your documents precisely to your needs.
With Soda PDF’s user-friendly interface, adding custom fonts is a breeze. It’s as straightforward as installing fonts in Microsoft Word.
1. Download a Custom Font
First things first: you need to download the font you want to use. There’s a wealth of websites offering diverse fonts, some free and others paid. Google Fonts is a great resource for free, open-source fonts.
- Choose a Font: Find and select a custom font that catches your eye. For this guide, we’re using “Indie Flower” because it’s charming and different from the default options.
- Download the Font: Click on the font and hit the Download button. The font will come in a compressed zip folder.
- Extract the Font File: Open the zip folder to find the font file, typically in TrueType format (.ttf). You’ll only need this file for installation.
2. Install the Custom Font
Now that you have your font file, it’s time to install it.
- Unzip the File: Drag the font file from the zip folder to your Desktop for easy access.
- Install on Windows: Go to Control Panel > Appearance and Personalization > Fonts. Drag and drop your font file into the Fonts folder. Windows usually handles the installation automatically. If not, right-click on the font file and select “Install.”
3. Use Your Custom Font in Soda PDF
When you launch Soda PDF, it will automatically recognize and integrate the fonts installed on your system. Just open Soda PDF, select your new font from the dropdown menu, and start typing!
4. Don’t See Your Custom Font?
If your font isn’t showing up, it might need a moment to be recognized. Simply restart Soda PDF to refresh the font list.
- Check Background Processes: Make sure Soda PDF isn’t running in the background. Disable “Hibernate on Close Fast Launch” by going to File > Options > General > Hibernate on Close Fast Launch > Disable. This ensures a complete shutdown of the application.
- Restart Soda PDF: Close the application and reopen it. Your custom font should now be available!
5. Embedding Custom Fonts in PDF
Embedding a font ensures that the font information is included in your PDF file, so it appears as intended on any device, even if the viewer doesn’t have the font installed. It’s a handy way to maintain the look of your document across different platforms.
To embed your custom font in Soda PDF:
- Open a Document: Start a new blank document in Soda PDF.
- Select Your Font: Choose your custom font from the dropdown menu.
- Type Away: Start typing and Soda PDF will automatically embed your font in the document.
With these steps, you’re all set to use and embed custom fonts in your PDFs! Explore different fonts and let your creativity shine in your documents. Download Soda PDF today and see how easy it is to make your documents truly unique!


