eSign PDF
Apply your e-signature, or include other signers to sign your PDF online.
-
From Google Drive
-
From Dropbox
or drop files here
How to Sign a PDF document online?
1 Open a PDF to Sign or Send to Signers
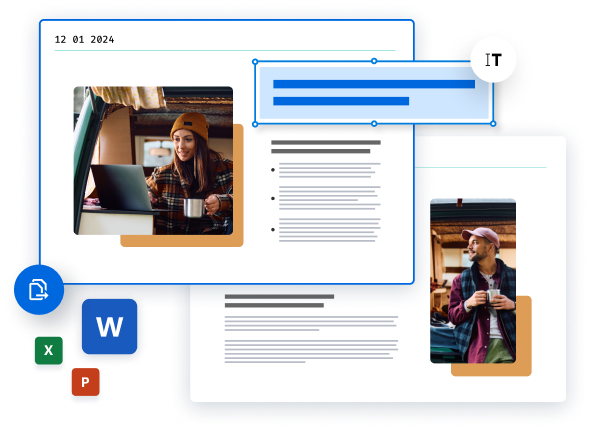
Choose the document you want to upload and prepare to e-sign online for free. Upload the document from a specific folder on your computer, or simply drag & drop directly from your desktop. You can even get documents from a cloud storage system like Google Drive or Dropbox to electronically sign documents using Soda PDF Online.
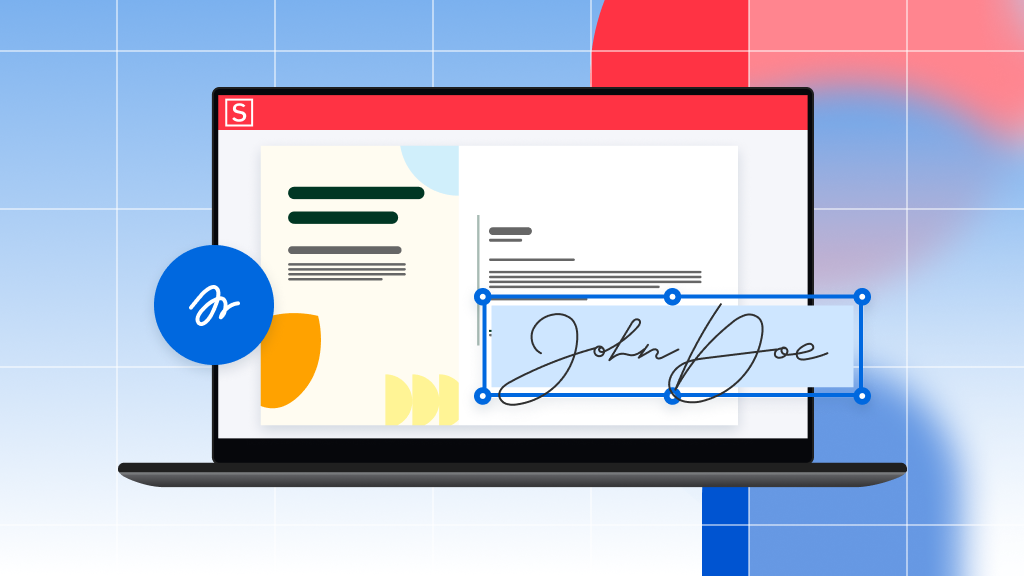
2 Set Signer Details
Once you upload your document, the next step is to create a signature and apply your signature to the PDF. Or, you can choose to include additional signers to your document. Fill out your signer's details by providing their first name, last name, and email address. Next, indicate where these signatures are required in your PDF by placing either your signature or their signature field anywhere on your PDF.
3 Send for Signature
Once you've prepared your PDF document using our online tool, your signers will receive an email to apply their signatures to your document. Once you click "Send", your signers will then each receive an email with instructions for adding their electronic signatures to the document, click the link, and proceed to review the document. Your signers will then create & add their signatures to the document.
4 Sign and Download
You will need to wait until each signer has signed the PDF file before it can be available for download. You may also track or send reminders to your signers by creating your own Soda PDF account. Once all parties sign and fill in their esignatures, you will receive an email informing you that the signing process is complete along with a link to download your signed PDF. Select Download File to retrieve your file. Enjoyed using our Sign PDF online tool? Be sure to share your experience with others on social media!
Did you know?
Add your electronic signature from any device!
Looking for a way to esign documents fast? Use our electronic signature solution to sign documents or send business contracts to others for them to esign. Simplify the signing process from anywhere on any device with our secure esignature tool. Use our secure ESign PDF online tool to simplify your workflows with one simple solution: Soda PDF!
ESign any PDF document for FREE!
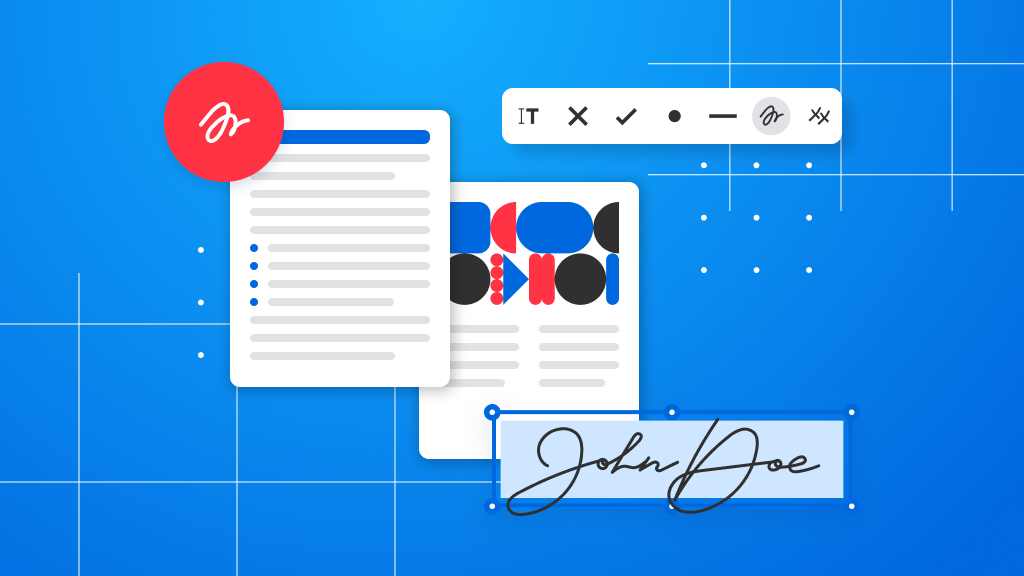
Type your name, draw, or upload an image of your signature and click Sign. It's that easy!
The information you provide for your E-Sign PDF document and online electronic signatures will be handled in accordance with our Privacy Policy.
Learn more about how E-SIGN is legally binding and secure
Signing electronically is safe & secure
Our intelligent e sign tool uses the sender’s and signer’s email addresses to authenticate e signatures for any PDF sign document. The only way to access and sign e-sign packages is through your personal email access, which ensures that only the designated signer or signers can view, edit, and add their signature to the files. Our secure technology establishes an encrypted link between our web server and your browser so that all data remains private. We only store each file on our server for 24 hours to limit any unauthorized access.
The e-sign PDF signatures & files are then permanently removed from our PDF online servers. As the sender of a document, your permissions will differ from those of the signer. In the PDF sign process, signers only have the ability to add their signature to the document, senders are given administrative permissions and access to the documents, which allows them to create, edit, review, and track any signature for their documents. All e sign files are made available to users through the Soda PDF inbox.
The difference between e-signatures & digital signatures
A digital signature might be used to approve or reject documents internally, but an e-signature is primarily used by a business or an individual as a legal signature solution for when they or every required signee cannot directly be in the same room or location. Whether to approve contracts, sales forms, agreements, or to save time and increase productivity, our software can help provide you and your signees with an electronic signature experience that keeps a safe distance between people and paper.
Easily sign PDFs and get e-signature requests through your email with Soda PDF. Apply your electronic signature using our E-Sign tool and start remotely signing your documents today! Signing files electronically isn't the only solution Soda PDF can provide! Our powerful PDF tools are here to support you with any document goal.
Try our other FREE* online tools
Want to create a PDF document of your own, or perhaps create digital signatures? Or maybe you're looking to convert PDF to a Microsoft Office file like Word, PowerPoint, or Excel? No matter whether you're looking to edit, create, convert, merge, split, or secure your documents, or perhaps even add digital signatures to your PDFs, be sure to use the product that's right for you and your document needs: Soda PDF!
Try our Soda PDF Desktop app or our Soda PDF Online products today for work or personal use. Our new software version, Soda PDF, allows you to process files on any device, anytime through your computer, tablet, and smartphone. Soda also introduces a new, simpler signing process too! By choosing one of our 360 plans, which gives you both Online and Desktop access to Soda PDF, you can use your account to put our many other PDF tools and services to work, directly from your web browser or desktop. Free Online PDF Tools
Blog Articles to learn how to E-Sign PDFs

How to E-Sign PDFs
E-Sign: How to collect electronic signatures using PDF
Knowing how to use E-Sign and collect electronic signatures when working with PDFs will revolutionize your workflow. E-sign technology takes regular PDF files and turns them into legally binding documents ready to be signed. They will be bundled up into a...
How to E-Sign PDFs
How to electronically sign a PDF (Using Soda PDF E-Sign)
Looking to sign contracts and invoices or other important documents from anywhere? Are you in need of a remote signature solution for your business? If so, then look no further than Soda PDF’s E-Sign signature solution!...
How to E-Sign PDFs
Digital signatures vs. electronic signatures: what’s the difference?
The terms digital signature and electronic signature are often used interchangeably, a common mistake among both businesses and individuals. In an attempt to set the record straight once and for all, we’re...
*Size and daily usage limitations may apply. Avanquest 2025, all rights reserved.
